Wednesday, 18 December 2013

Animation Testing 02


Admittedly, Sofia was more difficult for me to animate, as she does have some weight (muscle?) on her, but at the same time she's a young active girl. I needed to animate a cycle that got the free spirit of the character, but also pushed the Dynamics technically speaking.

The animation is ok but I felt it was a bit too much and could use more appeal, especially in the arms. I think it needs to feel more natural.

I really, really like the skirt movement, but I know the hair is totally off and needs fixing. I think the best course of option will be to paint weights on the hair, and solve the hair for each scene Sofia is in, right down to the detail.

Bagboy's Hill Grass Set up and Problem Solving

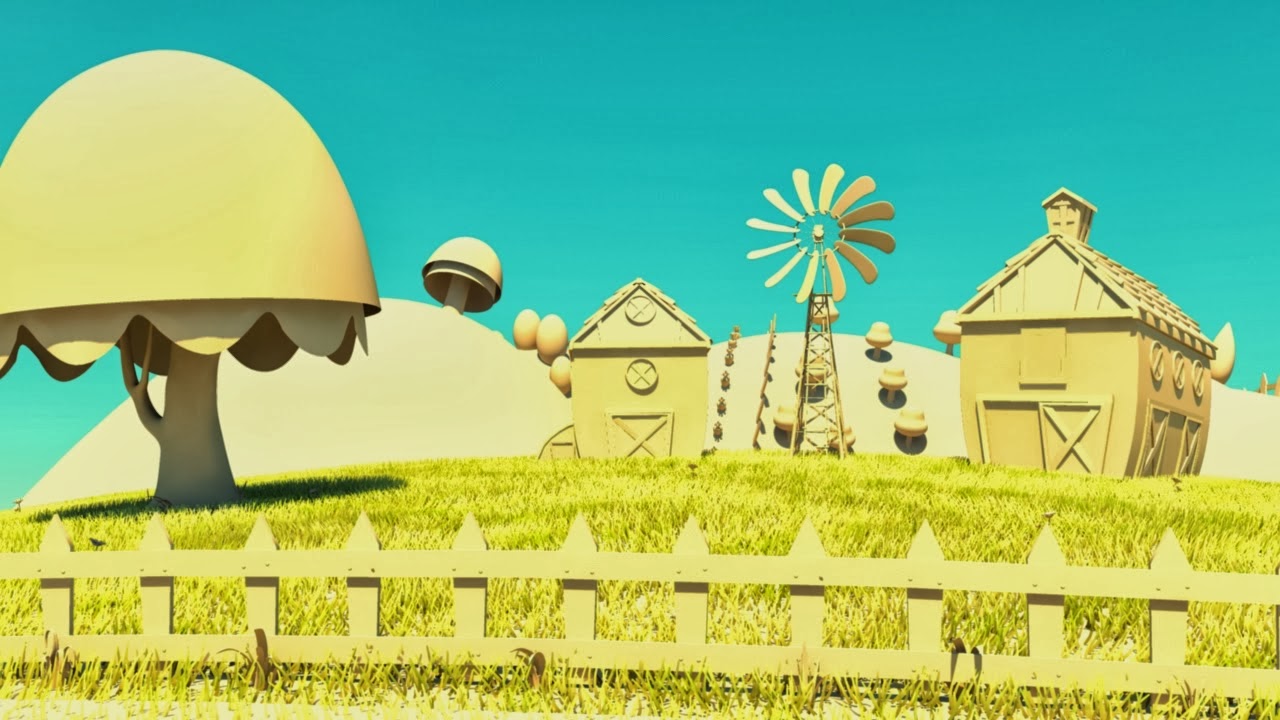
Now that the process of setting up grass on the Ranch was well under way, it's time to get the ball rolling for Bagboy's Hill too! This was actually fairly difficult and I ran into some new challenges, which introduced me to "Baldness Maps", "Ramp Maps" and creative UV Maps FOR the Maya Fur.


So the initial grass application was a bit of a failure, it was due to the: Fur Settings, the Geometry Settings and the UV Settings


Adjusting the Fur Settings


A bit more, also added more subdivisions to geometry.


Further Fur Settings adjustments. Created UV Map for Fur.

Further Fur Settings adjustments. Adjusted UV Map for Fur.


Further Fur Settings adjustments. Applied the "Relax" command to all UV's to allow and even distribution of grass density. (See following image)


Amped up Grass Density.


Now that I have gotten this far it's time to get into the details, the grass is too perfect right now and will need some imperfections, dirtying up and fitting with the original concept of the grass being slightly worn out where Bagboy comes down from the hill everyday. For this I will need to create "MAPS" for my Baldness setting, Length setting and possibly even Scraggle Setting. Many further adjustments to be made.

Saturday, 14 December 2013

Finalizing Sofia Rig and fixing errors

As a Director I felt that Sofia's design was still off. My tutors agreed and I decided that the adjustments Laura made to the Eleven rig needed serious ammendments.

Here is Laura's version:


I thought it was very unappealing, I can understand that Laura was trying to make the character look as much like her original design as possible, but at the end of the day an unappealing character is an unappealing character.

Here are my changes;


I toned almost everything down as it was just far TOO much, now it just looked a little creepy but I feel this is more to do with the pose and the teeth + eye positioning. So more ammendments...


I found some errors in the Sofia Rig when I was attempting to create test animation;


Here you can see how the FK AND IK controls are showing even though I only need one of them to show, this problem seemed to be unfixable and occured during my tampering of the rig, luckily I had created many backups and was able to fix the issue..


Like so.


I added a "Dyn" Control for the Rig to be able to turn all the dynamics On and Off at will as well as turn the skirt and hair visibility on and off. This just makes things much easier for the future.


The Boots also underwent a change where the laces were taken out, this was to simplify the geometry as 
1) The Laces were a very detailed feature in a Character style where simplicity was the aim.
2) The Laces were too heavy in geometry and slowing down the use of the rig substantially, me and Laura both agreed that taking the Laces out and adjusting the Boot model to look a little more scrappy would actually aid the character's look if anything.


Finally solving the Kite String Rig!

After  much deliberation I was able to figure out a clever way in which I could create an effective String Rig for the film.


Create a NURBS Curve using the CV Curve Tool


Rebuild the Curve, with 200 Spans (Vertex's)


Making the selected Curve Dynamic as an nHair


Result


Extruding a Nurbs Circle along the Nurbs Curve


Making the Nurbs Curve Self Collide, and then adjusting the collision thickness


Results

Now I need a method in which I can create a controller at the bottom of the rope so that if attached to an object (in my case Bagboy's Spindle), it will automatically follow along.


Using a Script downloaded from LesterBanks called SoftClusterEX, I created a Cluster with Soft Selection at the bottom of the rope, this will be where the Rope will be attached to the Spindle.


Friday, 13 December 2013

Tree and Tree Stump Bump Mapping


I decided that artistically both the Tree and the Tree Stump looked so much better when they had a straight Texture applied to them with a Bump Map rather than a Painted Texture and Displacement Map. 


I had to spend some time configuring and checking Bump Map Settings in Maya before I finally got to a stage that worked.


Voila! Lovely


Now for the Tree Stump, I decided to compare how the texture and displacement map worked compared to the texture with bump map...


Texture and Displacement Map


Painting Textures in Zbrush

Because Laura is uncomfortable with using Zbrush and I want to adhere to the strict Production Plan as we have done already, it's come to me to paint on the texture on to both the Tree and the Tree Stump in Zbrush.


Here is Zoe's Zbrushed Tree Ztool:


Here is Laura's Texture which she created:


I used Zbrush's "Spotlight" and "Polypaint" feature to paint the texture in 3D Space straight onto the model as the base model will use a displacement map in Maya and therefore it is so much easier to create and apply a texture with this method. The same goes for the Tree Stump Zoe created, below are my results;


I was really quite happy with the look of these objects, especially the Tree Stump, it looked very, very stylised yet gave the model a unique sort of detail at the same time.


However, Laura also produced some texturing + uv mapping tests for the tree herself, these did NOT use the displacement map created by Zoe and looked more simple.

You can see it here:


It came down to me to make a directorial decision;

Should I use the version created by myself which uses Displacements and a Model by Zoe with a texture file by Laura,

or should I use the version created by Laura which uses the Base Model by Zoe?

I will update this section with my decision soon.

UPDATE: I opted for the version WITHOUT the Displacement Maps.

Thursday, 12 December 2013

Placing Cameras and Cinematography

Seeing as we will start Animating very soon, it was time to set up the cameras (for Act 1 and Act 2 anyway!). This was fairly easy in a way because I had earlier taken the initiative to create a 3D Pre-visualisation scene in Maya, this made it very easy for me to reference my pre visualisation file and re-set up my cameras. However, some changes did occur, this was mostly due to the transition from my Pre visualisation to Zoe's Set Modelling, which we adjusted for a better sense of composition to the entire scene.


It was important to keep cinematography consistent and to keep pushing the perpectives whilst getting that golden rule of thirds and hitting the sweet spot, below you can see an example of me setting up a shot and using my Field Chart function in Maya to nail where I want the action to go (in this case its slightly right and above from the centre line)


Maya Fur Grass Development


I have spent the last few weeks attempting to nail the look for Maya's Fur Grass to fit into my scene as I know there is SO much untapped potential there that can really pump up the scene. Fortunately I was right, my tutor suggested to look at some scene developments on the Pixelophy website and it finally made me realise what I had to do to get the look just right...


This is really starting to look beautiful!


Close up of the grass, note how it fits the style of cel shading!

These images from my newly created ammendments, if we compare this to the grass render tests I did at the start of the film pre prouction there is a humongous difference in quality and look, this feels so much more natural and far more beautiful for the scene.


This was great but I decided that my time and capabilities could only go so far right now, I have other things to do so I thought it be best to hand the scene over now to Mikey.

Update: Me and Mikey have been hard at work on the lighting and look of the film and you can see some great things happening on his blog on that side of things, meanwhile now that the grass is confirmed to definitely be used in the film (albeit cleverly and reservedly) I decided to create grass sections for the other side of the layout; Bagboy's Hill.


I tried to just straight up copy the grass settings that were on one side to the other side but this yielded poor results, the grass on the ranch side was full yet patchy in places, and this wasn't a perfect marriage for the geometry of the hill and such.


Even when I adjusted the baldness as a quick test very little difference was made, further testing will be required.

Tuesday, 10 December 2013

Animation Testing


I encountered 0 errors during the making of this walk cycle, which means my character is now ready for Animation.

Monday, 9 December 2013

Rig Testing and Animation Testing

Now that my rigs are ready I have dedicated this week to thoroughly testing the rigs for the film. I feel that this is an extremely necessary step in any pipeline as it saves time later when animating and avoids faults.

I have been animating Bagboy in one of his walk cycles that will be in the film. I felt that this shot captured his happy go lucky spirit so it would make for a fun introduction to animating the film. 


I ran into some errors with my blendshapes however when I went to give some secondary action + follow through to the bag:


I realised the error; my blendshapes were not parented under my Head IK Control Curve, because of this the blendshapes were trying to deform the bag as if it were in a default straight position. So once I parented the controls to where they needed to be...


My controls are now fixed


Thursday, 5 December 2013

Rigging the Sellotape

For this shot:

It is necessary to have a rigged model of Sellotape that extends when Bagboy pulls at it. I decided to create a simple rig for this.


Creating Blendshape


Creating Controls (Main Control to move Geo with, and Extender control to control BlendShape)


I decided to go one step further and add a deformer (Squash) and alter it slightly so that the section of tape that was being tugged would squash and stretch slightly so that the animation comes alive a bit more when the tape is pulled! I think this will really sell the effect.